
Last updated August 26, 2026
Free visual inspection and a written scope of work before any mitigation begins - photos, moisture readings, and drying logs go in your claim file
The scope we write is the scope we bill. Anything new gets shown to you, in writing, before we touch it.
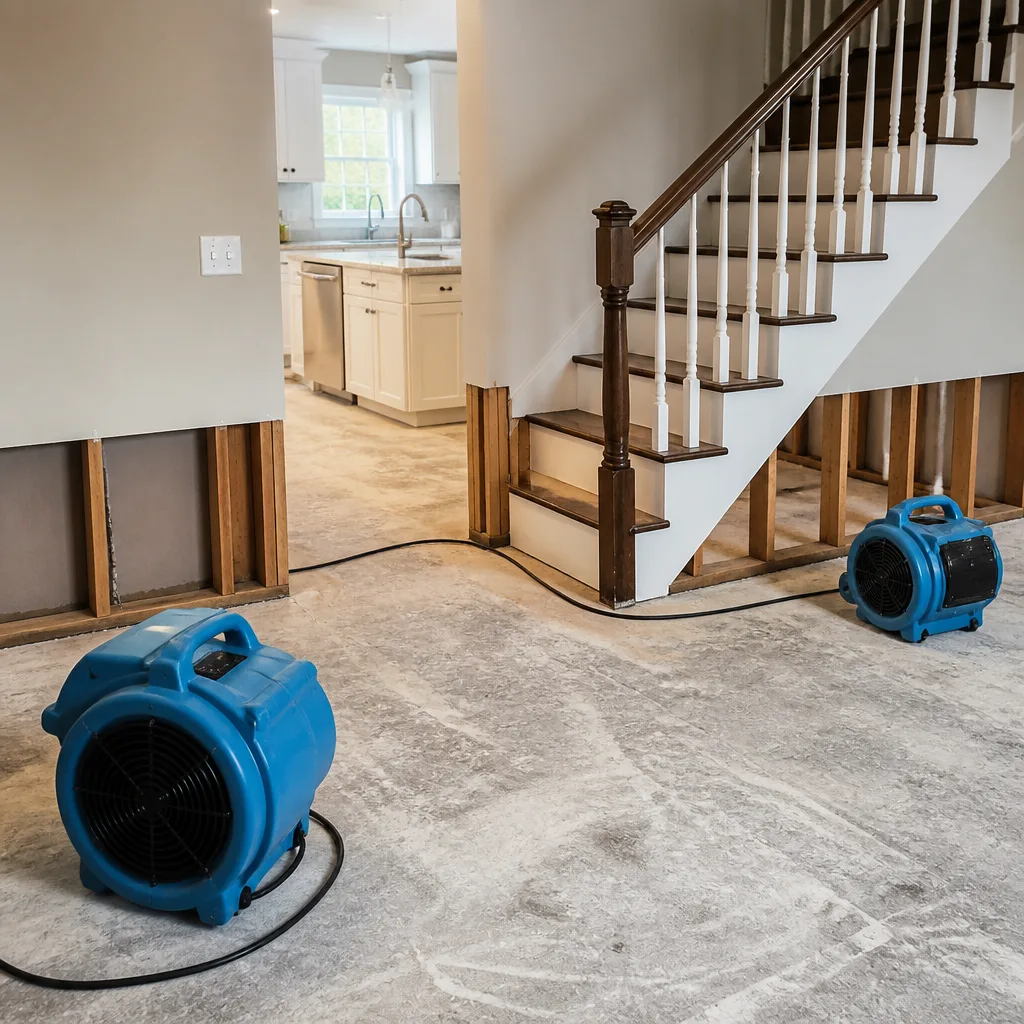

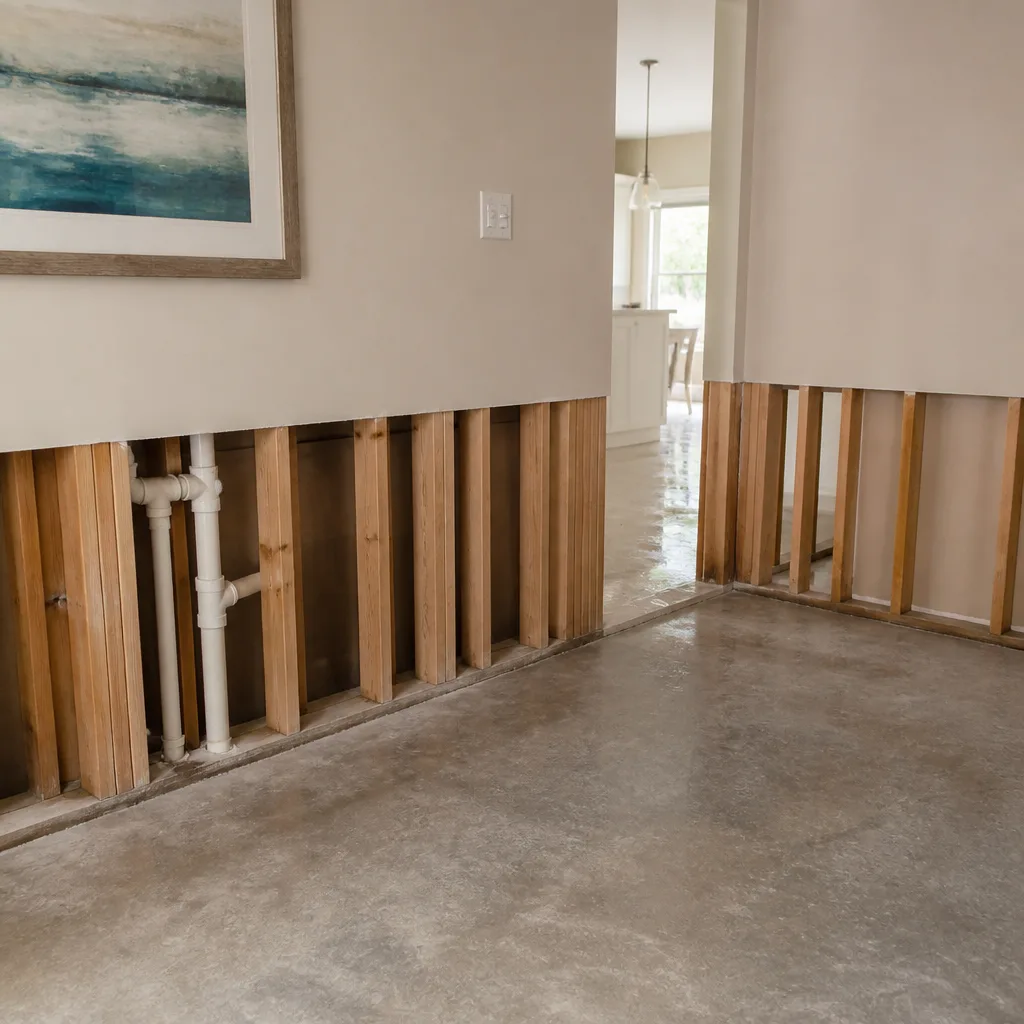



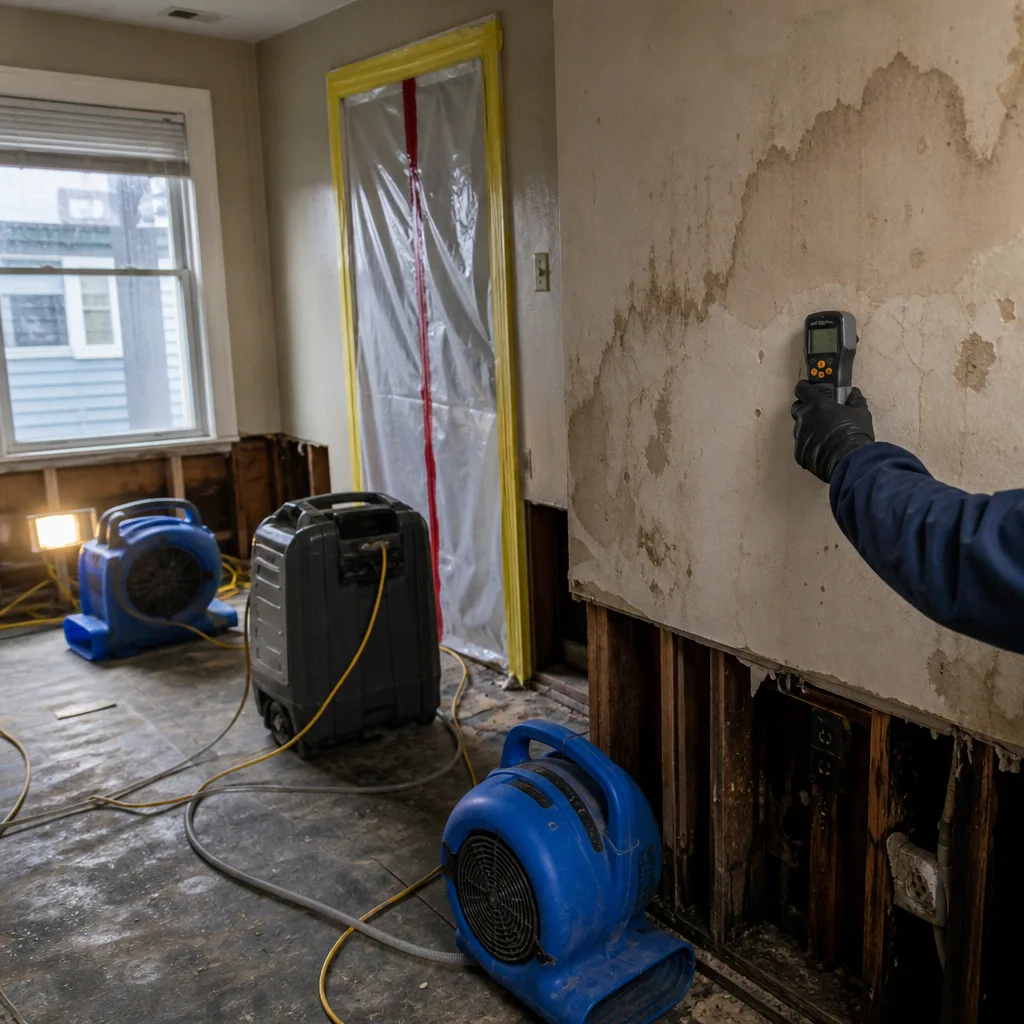 Before
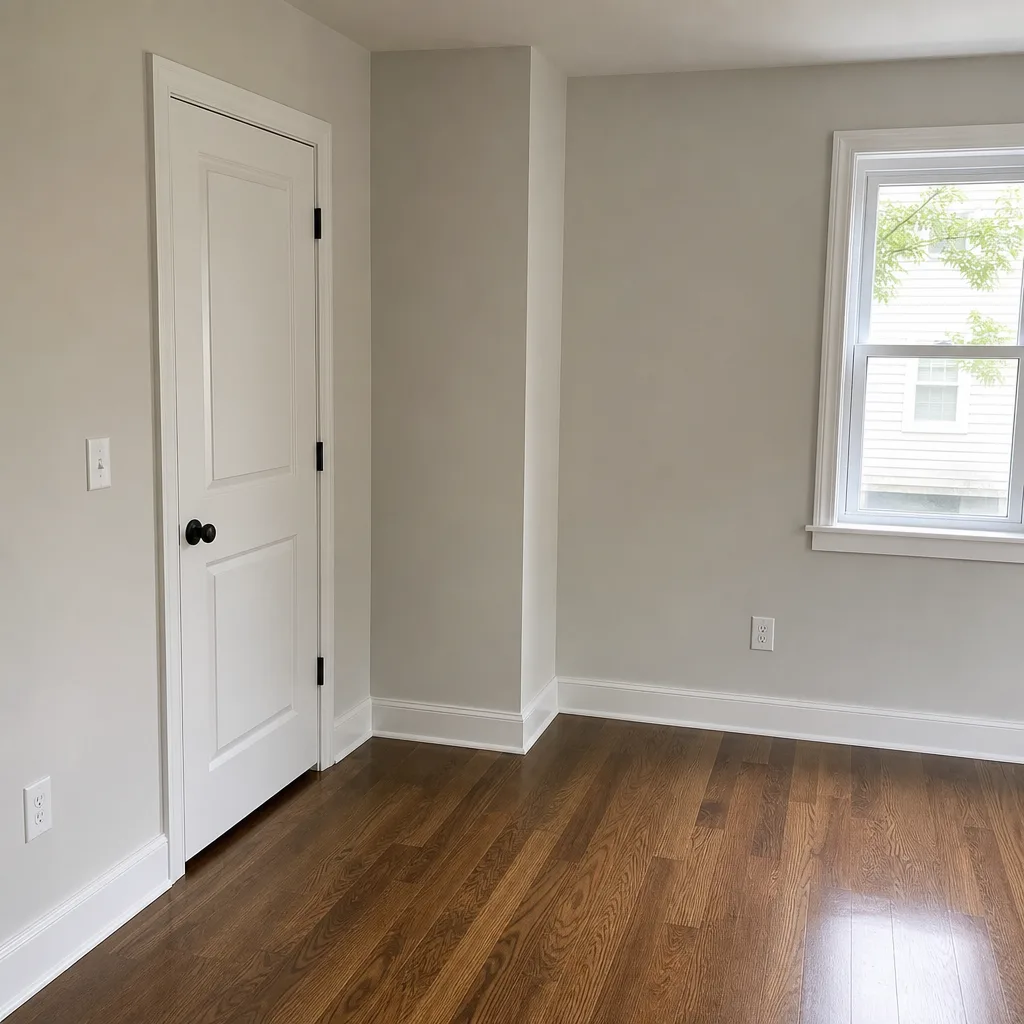 After
After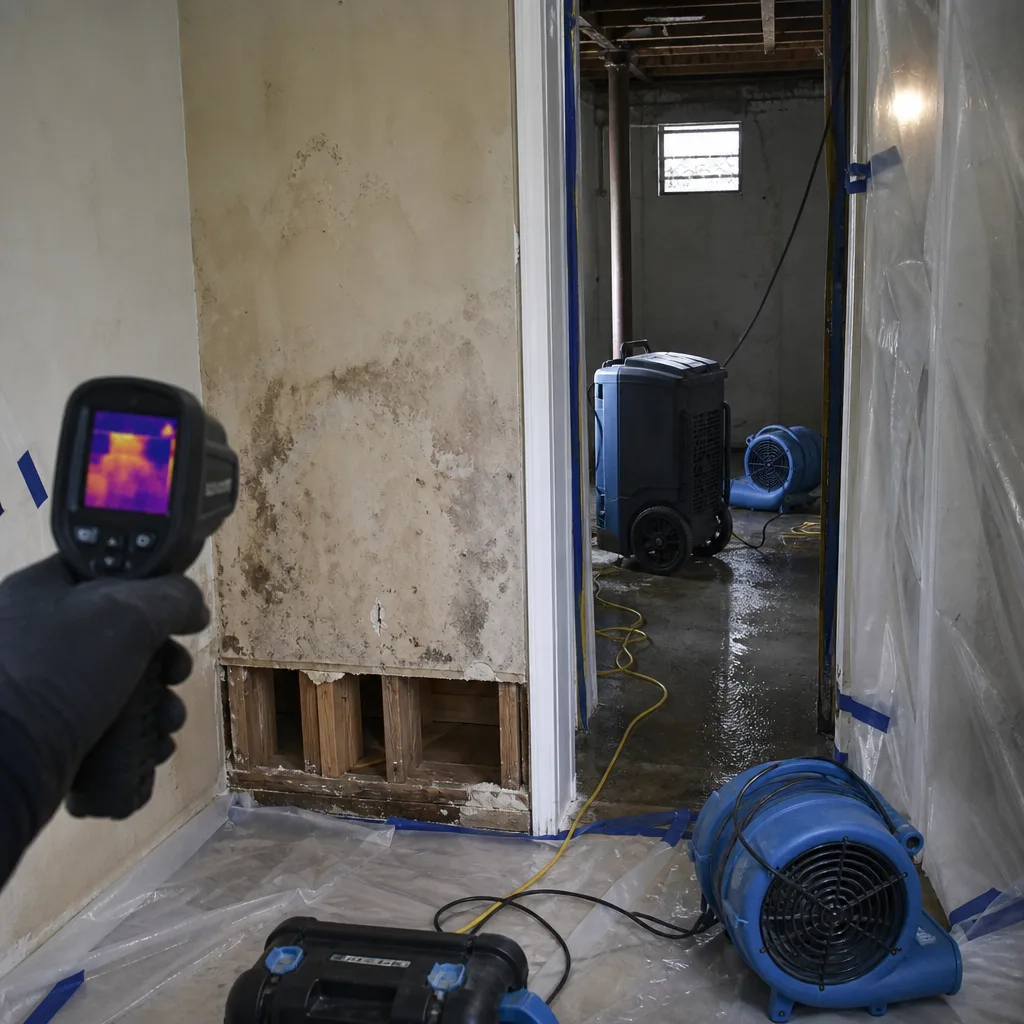 Before
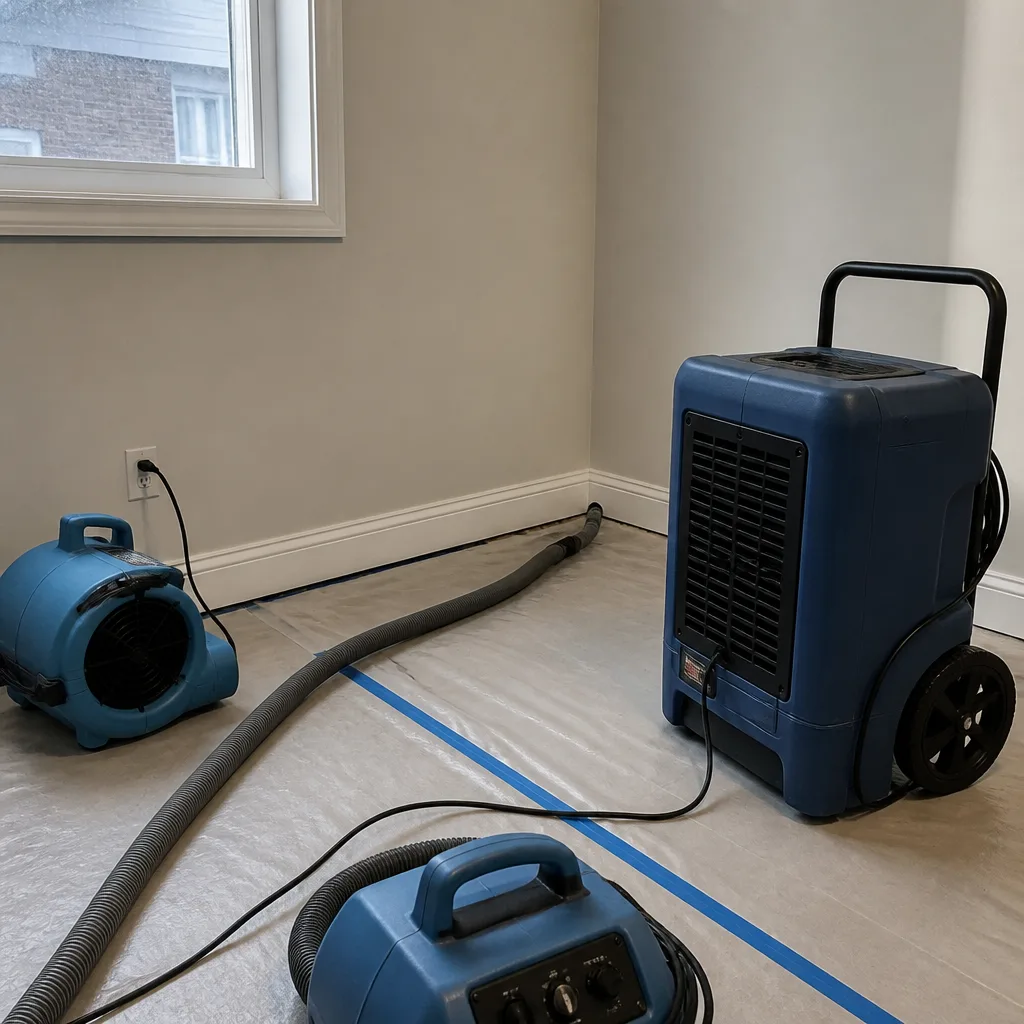 After
After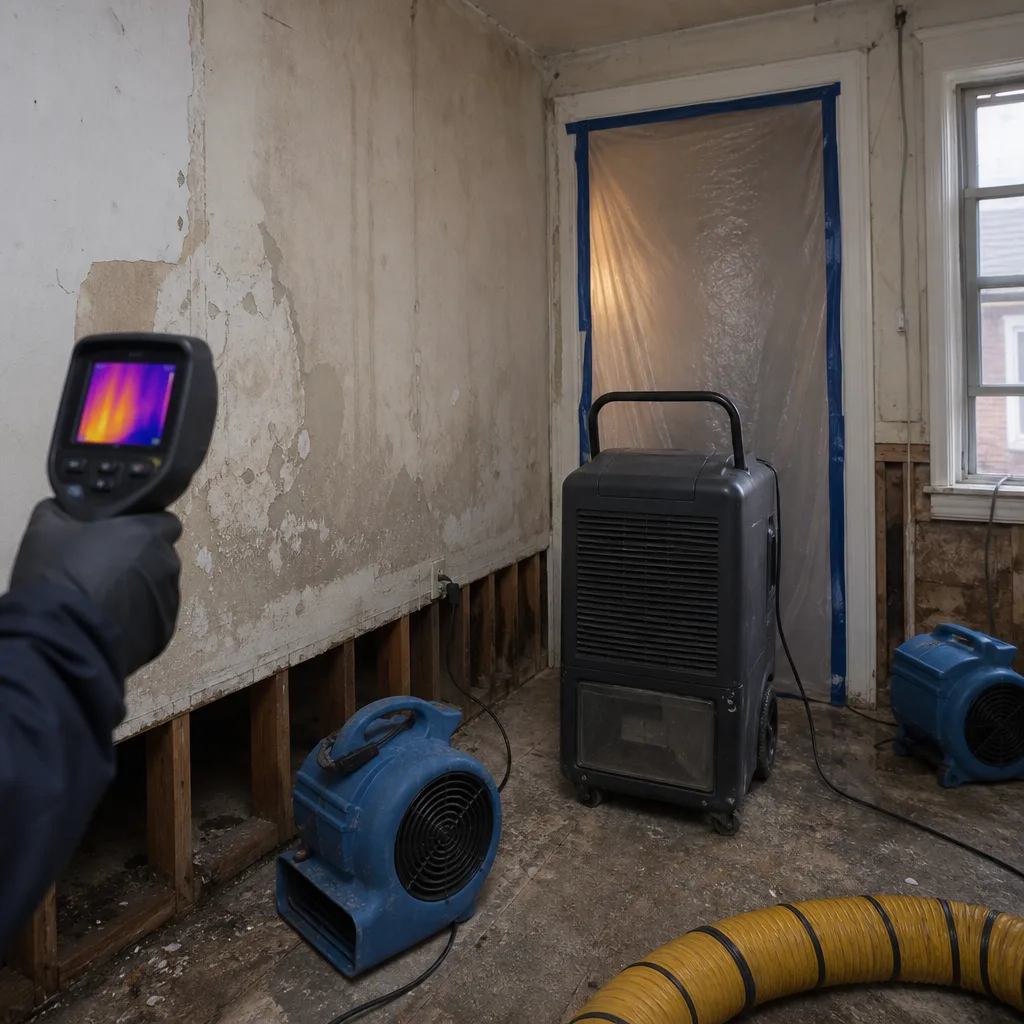 Before
 After
AfterWater Damage Restoration Maintenance Checklist for Jersey City Homeowners
Here’s the thing nobody tells you when you buy a brownstone or a garden-level condo in Jersey City: your basement isn’t just yours. It’s the low point for every roof, downspout, and foundation crack within fifty feet of your lot line. The number one call Wade gets after a heavy rain isn’t from homeowners whose own systems failed. It’s from homeowners whose neighbor’s systems failed first, and gravity delivered the bill. Most water damage checklists you find online are written for suburban ranch homes with crawl spaces and yards. They tell you to clean your gutters and check your yard grading. That advice doesn’t hold up when your “yard” is a shared courtyard, your “crawl space” is a finished basement below street level, and your roof is flat and older than your parents. This guide is built for Jersey City specifically. You’ll learn what actually fails here, when it fails, and the maintenance routine that keeps you from meeting Wade at two in the morning.
Quick Answer
A practical water damage prevention checklist for Jersey City homeowners focuses on five things most generic guides miss: testing your sump pump monthly and listening for the telltale sounds of a dying motor, inspecting flat roofs and roof drains twice a year (late fall and after spring thaw), maintaining party wall drainage systems with your neighbors in writing, documenting your humidity baseline monthly so you have proof if you ever file a claim, and acting on freeze-thaw damage to exterior masonry before it becomes an interior leak. If you do these five things on a schedule, you eliminate roughly 80 percent of the water damage Wade’s Restoration sees in Jersey City basements and garden-level units.
Table of Contents
- Flat Roof Inspection Protocol for Jersey City Brownstones and Row Houses
- Sump Pump Testing Schedule and What a Failing Pump Sounds Like
- How to Document Your Own Moisture Baseline
- Party Wall and Shared Drainage: What You Can and Cannot Do
- Jersey City’s Freeze-Thaw Cycle and What It Does to Your Home
- The Seasonal Maintenance Calendar
- Common Mistakes to Avoid
- When to Call a Professional
- Frequently Asked Questions
Flat Roof Inspection Protocol for Jersey City Brownstones and Row Houses
Flat roofs are the single most common source of water damage in Jersey City’s older housing stock. Brownstones, row houses, and converted factories all share the same structural reality: water pools, finds a seam, and works its way down through layers that were never designed to dry out quickly. The good news? Flat roof failures are almost never sudden. They announce themselves weeks or months in advance, if you know where to look.
We’ve seen the pattern hundreds of times. A homeowner in The Heights notices a water stain on their top-floor ceiling in March. They call us. We get on the roof and find a seam in the modified bitumen or EPDM membrane that cracked during a January cold snap. That crack was visible in November. It just hadn’t leaked yet because the cracks seal themselves temporarily when temperatures drop, then open again when the roof warms up. By the time water reaches your ceiling, it’s been traveling for a while.
What to Check, Twice a Year
Do this inspection in late October, before winter, and again in late April, after the last freeze but before the summer heat bakes the membrane. You’ll need a ladder, a flashlight, and about twenty minutes. Safety note: if your roof is more than one story up or has a steep pitch, do NOT climb onto it yourself. Inspect from a window or hire a pro. Roof falls are a leading cause of homeowner injury, and no checklist is worth a trip to the emergency room.
- Check every seam and flashing point. Walk the perimeter of the roof and look at every place one material meets another: where the membrane meets the parapet wall, where vents and pipes penetrate the surface, around skylights and chimneys. Look for cracks, bubbles, or areas where the membrane has pulled away from the substrate. Bubble any larger than a half-dollar means trapped moisture underneath. That’s a warranty claim or a repair job waiting to happen.
- Clear every roof drain and scupper. Jersey City flat roofs drain through internal drains, scuppers, or both. If a single drain clogs with leaves or debris, water ponds. Ponded water that sits for more than 48 hours will degrade the membrane, even if it doesn’t leak immediately. Check the drain baskets and the scupper openings. While you’re at it, check the downspout exits at street level. A downspout that dumps water directly against your foundation is doing real damage below grade, even if the roof itself looks fine.
- Look for “alligatoring” on the membrane surface. Flat roof membranes that haven’t been recoated in a while develop a pattern of fine cracks that looks like alligator skin. This is UV damage and age. Alligatoring isn’t an active leak by itself, but it’s a warning sign that the membrane has lost its flexibility. The next freeze-thaw cycle will open those cracks into real splits. If you see alligatoring, budget for a roof coating or membrane replacement in the next year. It’s far cheaper than a ceiling collapse.
- Check the roof’s edge metal and gravel stops. Wind-driven rain gets under loose edge metal and works its way into the fascia, then the wall cavity, then your interior walls. In Jersey City’s wind corridors, especially near the waterfront and along the Palisades, edge metal takes a beating. Wiggle it. If it moves, it’s loose. Loose edge metal also creates a path for pests, and pest entry points are water entry points too.
If you find anything questionable, document it with photos. Date-stamp them. If you’re a water damage restoration in Jersey City client of ours, those photos become part of your claim file. If you’re not, they’re still the best evidence you have if a leak appears later and your insurance company asks when it started. Insurance adjusters love date-stamped photos. They turn “sudden and accidental” from a phrase you hope they believe into something you can prove.
When to Act Immediately
- You see active water ponding that doesn’t drain within 48 hours after rain.
- You find a soft spot underfoot where the roof deck feels spongy.
- You see daylight through any crack, seam, or penetration point.
- Interior water stains on top-floor ceilings or walls, even if they feel dry to the touch.
Any one of these means water is already inside your building envelope. Waiting a week to “see if it gets worse” is how a $400 roof patch becomes a $12,000 mold remediation project. And no, that’s not an exaggeration. We’ve written those estimates.
Sump Pump Testing Schedule and What a Failing Pump Sounds Like
If you live in a garden-level unit, a basement apartment, or a brownstone with a below-grade floor in Jersey City, your sump pump is the only thing standing between your living space and groundwater. Not floodwater, groundwater. And groundwater doesn’t care what the weather forecast says. The water table in Jersey City sits high, especially in the low-lying areas near the Hackensack River, the Passaic River, and Newark Bay. In some neighborhoods, the water table is less than four feet below the surface. That means your sump pump is doing constant work, not just during storms.
Here’s the maintenance schedule that actually works:
Monthly (Every 30 Days)
- Test the pump by pouring water into the pit. Don’t just lift the float. Lifting the float tests the switch, not the pump. Pour a five-gallon bucket of water directly into the sump pit. The float should rise, the switch should engage, and the pump should evacuate the water. If it doesn’t, you have a problem. Do this once a month, no exceptions.
- Listen to the pump while it runs. A healthy sump pump makes a low, steady hum. A failing pump makes other sounds. A grinding noise means the impeller is worn or jammed with debris. A rattling sound means the motor bearings are going. A pump that cycles on and off rapidly, even when there’s no new water entering the pit, means the check valve is failing or the float switch is misadjusted. Any of these sounds means you’re on borrowed time. Replace the pump before it fails. A sump pump replacement in Jersey City runs $300 to $700 installed, depending on the pump type and pit size. A flooded basement starts at several thousand and goes up from there.
- Check the discharge line. The pipe that carries water away from the pump needs to end somewhere that slopes away from your foundation. In Jersey City’s dense neighborhoods, that’s often harder than it sounds. Discharge lines that dump into a shared alley or against a neighbor’s foundation are code violations and a lawsuit waiting to happen. Check that the discharge line hasn’t shifted, cracked, or frozen. In winter, a frozen discharge line will burn out your pump faster than anything else.
Twice a Year (Spring and Fall)
- Clean the pit itself. Silt, sand, and small stones accumulate in the bottom of the sump pit over time. This debris shortens pump life and can jam the impeller. Remove the pump, clean out the pit, and wash the pump’s intake screen. If you’re not comfortable doing this, call a licensed plumber or a restoration pro who offers maintenance services.
- Check the check valve. The check valve prevents discharged water from flowing back into the pit once the pump shuts off. If it’s failing, your pump runs constantly, which burns it out. You can test it by listening for water flowing back into the pit after the pump cycles off. If you hear a gurgle or a trickle, replace the check valve. It’s a $15 part.
- Test the backup power system. If your sump pump runs on electricity only, it’s a liability. A power outage during a heavy storm is exactly when you need the pump most. Consider a battery backup or a water-powered backup pump. Battery backups run $400 to $900 installed. That’s cheap insurance when you consider what it protects. Test whatever backup system you have so you know it actually works.
One more thing about sump pumps in Jersey City specifically: many older homes here have the sump pump discharge tied into the sewer line. That’s legal in some sections of the city and not in others, depending on the sewer district and the age of the connection. If you’re not sure, check with the Jersey City Municipal Utilities Authority. Discharging groundwater into the sanitary sewer during heavy rain contributes to combined sewer overflow events, which is why the city has been phasing out those connections. If you’re buying or renovating, this matters. A disconnected discharge line that you didn’t know about is a code violation you inherit.
How to Document Your Own Moisture Baseline
We take moisture readings every single day on active restoration jobs and hand the homeowner the full log when the job’s done. Almost nobody in the trade does that. It’s the single most important piece of evidence in a water damage claim, because it proves what was wet, how wet it was, and whether it dried properly. You can do a version of this yourself, for free, with a $25 hygrometer from any hardware store. It takes ten minutes a month and it could save you thousands of dollars in a disputed claim.
Here’s why this matters in Jersey City: basements here are almost never bone-dry. They run humid. That’s normal. But “normal for your basement” and “normal for a healthy basement” are different things. If you don’t know your own baseline, you can’t tell when something starts to go wrong. A slow leak behind a foundation wall might add 10 percentage points to your basement’s relative humidity over six months. You won’t notice it day to day. But a log will show it.
The Monthly Moisture Log
- Buy a hygrometer. A digital hygrometer with a temperature display costs $20 to $30. Get one with a max/min memory function so you can see the range even if you forget to check for a week.
- Place it in the most humid room of your basement or garden-level unit. Usually that’s the corner furthest from any window or vent. Do NOT place it in the bathroom or near a laundry machine. You want the ambient reading, not a localized spike.
- Take a reading once a month, same day, same time. Record the date, time, relative humidity percentage, and temperature. Do this in a notebook or a spreadsheet. If you’re using a spreadsheet, even better. You can graph the trend.
- Note the weather. Write down whether it rained in the past week, whether it’s been unusually dry, whether the heat or AC has been running. A spike in humidity right after a heavy rain is normal. A spike with no rain and no change in HVAC is a warning sign.
- Watch the trend line. If your basement’s relative humidity has been running 50 to 60 percent and suddenly it’s 70 to 75 percent for two months straight with no weather explanation, you likely have a slow leak or a drainage problem. Investigate.
The target range for a healthy Jersey City basement is 40 to 60 percent relative humidity in summer, and 30 to 50 percent in winter. Staying below 60 percent prevents mold growth. Mold doesn’t need standing water. It needs sustained humidity above 60 percent and an organic food source, which in your basement means drywall, wood framing, cardboard boxes, and dust. A properly maintained dehumidifier can do the job. But a dehumidifier masking a leak is not a solution, it’s a bandage. The moisture log tells you which one you have.
If you ever file a water damage claim, that log is gold. It proves your baseline. It proves the damage was sudden and accidental, not long-term neglect. Insurance companies deny claims based on “long-term seepage” exclusions more than any other reason in this industry. A moisture log that shows normal readings for eighteen months, followed by a sudden spike in the week after a storm, makes that denial much harder to sustain. Wade has handed these logs directly to adjusters more times than we can count. They work.
Party Wall and Shared Drainage: What You Can and Cannot Do
Jersey City is a city of attached buildings. Brownstones share walls with brownstones. Row houses share walls with row houses. Converted factories share gutters, downspouts, and drainage lines with the units next door, above, and below. The water problem in your unit might not be your problem at all. It might be your neighbor’s. And that’s where things get legally messy.
Here’s what you need to know, based on what we’ve seen working in Jersey City since 2007:
The Basic Legal Structure
A party wall is a wall shared by two properties. In Jersey City, the general legal principle is that each owner is responsible for maintaining their side of the party wall, and for not doing anything that damages the shared structure. If a leak originates from your neighbor’s side of the wall due to their neglect (a failed roof, a leaking pipe they ignored, a clogged gutter that overflows against the shared wall), they are generally responsible for the resulting damage. If the leak originates from a shared component like the roof membrane or the foundation footer, responsibility is typically shared.
The operative word is “generally.” Enforcing this practically is another matter. You can’t force your neighbor to fix their roof. You can document the problem, send written notice, file a claim with your insurance company, and let the insurance companies fight it out. That’s what insurance is for. But you should know that your insurance company may deny your claim if the damage is found to be caused by ongoing neglect rather than a sudden event, even if the neglect is your neighbor’s.
The Documentation You Need
- Photograph everything, every time. Every time water appears, photograph it. Date the photos. Include a photo of the source if you can see it. If your neighbor’s downspout is visibly disconnected and dumping water against your shared wall, photograph that too. Time-stamped, repeated documentation is what transforms “my neighbor is a problem” into “here is evidence of ongoing negligence.”
- Send written notice. A polite, factual email or certified letter to your neighbor is step one. Explain what you observed, when, and what damage you believe it’s causing. Keep a copy. This isn’t hostile. It’s documentation. If the problem persists and you end up filing a claim, that written notice proves you acted reasonably and promptly.
- Contact your insurance company early. Even if you don’t intend to file a claim, notify your insurer that you have a potential water intrusion issue from a neighbor’s property. This creates a record. If the problem worsens and you do file a claim later, the paper trail starts from the first incident, not the one that finally caused major damage.
What You Cannot Do
- You cannot enter your neighbor’s property to fix their problem, even if the problem is clearly theirs. That’s trespassing.
- You cannot alter or redirect shared drainage without written agreement. Cutting off a shared downspout or redirecting a shared drain because you think it’s causing your problem will create a legal problem for YOU.
- You cannot refuse to cooperate with legitimate maintenance on a shared system. If the roof over both your units needs repair and the neighbor is willing to pay their share, you can’t block the work.
Here’s the practical advice, from someone who has seen this play out dozens of times: document first, communicate second, escalate third. Most Jersey City neighbors don’t want a water problem any more than you do. They just don’t know they have one. Give them the information. Then give them a deadline to respond. Then let the professionals deal with it.
If you’re dealing with a water intrusion from an adjacent unit right now and you’re not sure whether it’s your problem, your neighbor’s problem, or a shared problem, start here: Wade’s Restoration home office is in Jersey City. Call and describe what you’re seeing. Wade or one of his team can usually tell you over the phone whether you need a restoration contractor, a structural engineer, or a lawyer. That call costs you nothing.
Jersey City’s Freeze-Thaw Cycle and What It Does to Your Home
Jersey City doesn’t get the brutal winters of upstate New York or the Adirondacks. What it does get is the freeze-thaw cycle, and that’s arguably worse for your home. Water freezes at 32 degrees Fahrenheit. It expands by about 9 percent when it freezes. In Jersey City, winter temperatures regularly hover in the high 20s at night and climb into the 40s or 50s during the day. That means the water in your masonry, your concrete, and your foundation is freezing and thawing dozens of times each winter. Every freeze cycle pushes cracks a little wider. Every thaw cycle lets a little more water in. Over a decade, a hairline crack becomes a channel.
This is why fall maintenance matters more than spring maintenance in Jersey City. The damage happens over winter. The symptoms appear in spring. If you wait until March to check your foundation, you’re looking at damage that started in December.
What to Check Before Winter
- Walk the exterior of your home and photograph every crack. Use a tape measure or a coin for scale. Date the photo. Do this every October. Compare year over year. If a crack grows from a quarter-inch to a half-inch over one winter, that’s structural movement you need to address. If it stays the same, it’s likely stable.
- Seal exterior cracks before the first hard freeze. Any crack wider than an eighth of an inch in masonry or concrete should be sealed with an appropriate masonry caulk or concrete patching compound before winter. Water enters those cracks, freezes, expands, and widens them. Sealing in October is a $20 fix. Rebuilding a displaced foundation wall in March is a five-figure project.
- Check your window wells and basement stairwells. Many Jersey City garden-level units have window wells or exterior stairwells that collect water. If the drain at the bottom is clogged, water pools, freezes, and eventually finds its way through the window frame or stairwell wall. Clear the drains. Check that the grade slopes away from the window well, not toward it.
- Disconnect and drain all exterior hoses. A frozen hose that’s still connected to a spigot can crack the pipe inside your wall. The damage from that won’t show up until spring when the pipe thaws and starts leaking inside your walls. This is a two-minute job that prevents a $2,000 plumbing repair and a water damage claim.
What to Check After Spring Thaw
- Re-photograph all the same cracks you photographed in October. Note any changes.
- Check for efflorescence. That’s the white, chalky substance that appears on concrete and masonry walls. It’s a sign that water is moving through the wall and depositing minerals on the surface. New efflorescence in spring means water got into the wall over winter. Find where.
- Inspect interior walls for new stains or bubbling paint. These are late-stage signs. By the time you see them, moisture has been present for weeks.
- Check your basement or garden-level floor for a musty smell. Your nose is a moisture meter. A musty or earthy smell in spring that wasn’t there in fall means something got wet and stayed wet. Don’t ignore it. Mold grows fast once temperatures warm up.
If your freeze-thaw inspection turns up problems, you need a pro who understands the local building stock. For mold remediation in Jersey City, we handle the full cycle: identify the moisture source, dry it properly, remediate what grew, and document everything for your insurance. That last part matters because a mold claim without a documented moisture source is a claim your insurer will fight.
The Seasonal Maintenance Calendar
Here’s everything from the sections above, organized into a seasonal routine. Print this. Put it on your fridge. Run it on schedule and your risk of catastrophic water damage drops dramatically.
Fall (October to November)
- Flat roof inspection: check seams, flashing, drains, and scuppers.
- Clean gutters and downspouts. Check downspout exits at street level.
- Walk the exterior and photograph every crack. Seal cracks wider than an eighth of an inch.
- Clear window well and stairwell drains.
- Disconnect and drain exterior hoses.
- Test the sump pump and check the discharge line for debris.
- Check the hygrometer. Note the seasonal humidity baseline.
Winter (December to February)
- Test the sump pump monthly. Listen for unusual sounds.
- Check the discharge line for ice buildup after hard freezes.
- Take monthly moisture readings. Note any unexplained humidity spikes.
- After significant snowfall, check that snowmelt isn’t pooling against the foundation.
- Watch for interior stains on ceilings and top-floor walls during thaws.
Spring (March to May)
- Re-photograph exterior cracks and compare to October photos.
- Check for efflorescence on basement and garden-level walls.
- Inspect interior walls for new stains, bubbling paint, or musty smells.
- Flat roof inspection: second one of the year.
- Clean the sump pit and check the check valve.
- Test the backup power system.
- Inspect window wells and stairwell drains again after the thaw.
Summer (June to September)
- Run the dehumidifier and keep the hygrometer below 60 percent.
- Check for pest entry points around exterior penetrations. Pests mean openings. Openings mean water.
- Inspect the roof membrane for UV damage and alligatoring.
- Test the sump pump monthly, even in dry weather. A pump that sits unused for months is a pump that fails when you need it.
- Check that your discharge line hasn’t shifted.
That’s the whole routine. It’s about four hours of work per year, spread across twelve months. Compare that to the cost of Water Damage Restoration services, which in Jersey City runs anywhere from a few thousand dollars for a contained clean-water leak to tens of thousands for a flood, a sewage backup, or a mold problem. Your call.
Common Mistakes to Avoid
- Trusting a neighbor’s roof. The single most common mistake we see in Jersey City attached housing is assuming that the shared roof or drainage system is being maintained by someone else. It’s not. Check your own space, document what you see, and communicate early when something looks wrong.
- Ignoring a “small” leak because it stopped. Leaks don’t fix themselves. They stop because the water source temporarily dried up or the crack temporarily sealed. A leak that stops on its own is a leak waiting to resume, often with more damage the second time. Treat every leak as active until proven otherwise.
- Running a dehumidifier without finding the moisture source. A dehumidifier is a bandage, not a cure. If your basement is suddenly humid, find out why. The dehumidifier is masking the symptom while the underlying problem gets worse.
- Using bleach on visible mold. Bleach is not an effective mold remediation product on porous surfaces like drywall, wood, and insulation. It bleaches the color but doesn’t kill the roots. You’re making the problem invisible while it keeps growing. If you see mold on drywall, call a pro before you touch it. DIY “remediation” often spreads the spores and makes the professional job bigger and more expensive.
- Assuming “the landlord will handle it.” If you’re a renter in Jersey City, you have rights, but you also have a responsibility to report water problems promptly. Document that you reported it. If your landlord doesn’t act, the paper trail is your protection.
- Not knowing where your main water shutoff is. If you don’t know where the water shutoff valve is for your unit or your building, you will waste precious minutes during an active leak while water continues to pour in. Find it now. Mark it. Know how to turn it off. This one thing saves more money than any other single action on this list.
- Filing a claim without documentation. If you don’t have photos, a moisture log, and receipts for previous maintenance, your insurance claim is a negotiation from a weak position. Document everything, even when things are going fine. The best time to build evidence is before you need it.
When to Call a Professional
Some maintenance tasks are DIY. Some are not. Here’s where the line is in Jersey City:
- Any active water intrusion you can’t immediately stop. If water is entering your home and you can’t cut off the source, call a restoration pro. Every hour of standing water means more material damage and more mold risk.
- Any water damage involving sewage. Sewage backup is a biohazard. Do not attempt to clean it yourself. The health risks are real and the cleanup requires professional-grade equipment and protective gear.
- Any leak that has been active for more than 48 hours. After 48 hours of moisture, mold begins to grow. Even if you fix the leak, the affected materials need professional drying or replacement.
- Visible mold larger than about ten square feet. Small patches on non-porous surfaces you can handle with proper cleaners. Larger patches, or any mold on drywall, carpet, or insulation, is a professional job.
- Any water damage you suspect might be related to a structural issue. Cracked foundation walls, bowing basement walls, or water entering through the slab are structural concerns. You need a structural engineer’s assessment, not just a restoration crew.
Wade’s Restoration offers free estimates in Jersey City. Call (201) 903-9581 and describe what you’re seeing. If it’s something you can handle yourself, we’ll tell you. If it’s not, we’ll tell you that too. That’s how we’ve operated since 2007, and it’s why our customers send their neighbors our way.
Frequently Asked Questions
Test your sump pump monthly, year-round. Pour a five-gallon bucket of water into the pit to confirm the switch engages and the pump evacuates water. Monthly testing catches mechanical failures before a storm does. A sump pump that sits untested for months is the most common cause of preventable basement flooding in Jersey City’s below-grade units.
A failing sump pump typically makes a grinding noise if the impeller is worn or jammed, a rattling sound if the motor bearings are failing, or rapid on-off cycling if the check valve or float switch is misadjusted. A healthy pump makes a steady, low hum. Any new sound is a warning sign. Replace the pump before it fails, not after. Call (201) 903-9581 if you’re not sure whether the sound you’re hearing is normal.
You can’t force your neighbor to fix anything directly, but you can document the problem with date-stamped photos, send written notice, and file a claim with your insurance company. The insurance companies will then determine liability. If the damage is from ongoing neglect by your neighbor, their policy should cover it. Your documentation is what makes that possible. If you’re dealing with this situation right now, document first, then call us for an assessment of the damage.
A healthy Jersey City basement should maintain 40 to 60 percent relative humidity in summer and 30 to 50 percent in winter. Sustained humidity above 60 percent creates conditions for mold growth on drywall, wood, and fabric. If you can’t keep your basement below 60 percent even with a dehumidifier running, you likely have a moisture source you haven’t found yet. A moisture log will help you identify when the problem started.
Homeowners insurance typically covers sudden and accidental water damage, such as a burst pipe or a storm-driven leak. It typically does NOT cover gradual water damage from long-term seepage, foundation cracks, or poor maintenance. The difference between “covered” and “denied” often comes down to documentation. A moisture log, date-stamped photos, and maintenance records prove the damage was sudden, not ongoing. That’s why we hand every customer a full moisture log at the end of every job. It’s evidence.
Water damage restoration in Jersey City typically ranges from $2,500 to $25,000, depending on the category of water, the square footage affected, and whether mold remediation or rebuild work is required. A contained clean-water leak in a single room usually runs on the lower end. A sewage backup or a flooded finished basement runs much higher. The 90-Day Done Right Promise from Wade’s Restoration means if it’s not done right, we make it right, in writing. Call (201) 903-9581 for a free estimate on your specific situation.
The Bottom Line
Water damage in Jersey City doesn’t announce itself with a bang. It announces itself with a slow drip, a musty smell, a slightly higher humidity reading, a crack that grew a quarter-inch over winter. The homeowners who avoid catastrophic damage are the ones who pay attention to those small signals and act on them. Test your sump pump monthly. Inspect your flat roof twice a year. Document your moisture baseline. Communicate with your neighbors about shared drainage. And when something feels wrong, don’t wait. Call a professional who understands Jersey City’s housing stock, and explore more guides & resources to stay prepared. The maintenance routine in this guide takes about four hours a year. The alternative can take months of your life and tens of thousands of dollars. Your call.
For fire and smoke damage restoration in Jersey City or any of our other services, we’re always available at (201) 903-9581. Wade answers his own phone, 24 hours a day, seven days a week. Ask anyone on your street.
Written by Wade Ferris, Owner at Wade’s Restoration, serving Jersey City since 2007.